How to Install an M3B System
Friday, January 29, 2016 7:51:48 PM America/New_York
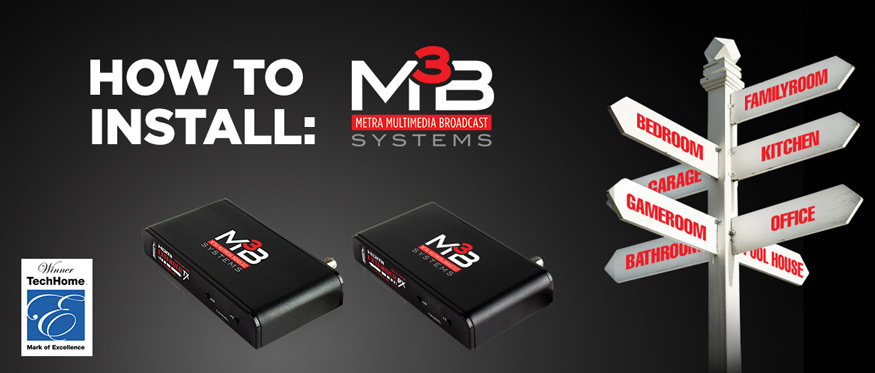
We have made multi–room AV distribution easy with our M3B system and this post will outline out the easy steps to install this system.
You will need to answer the following questions to begin designing and laying out your M3B system:
-
How many sources and displays will be in this system?
There are two primary devices: the source side encoder (M3B–TX1) and the display side decoder (M3B–RX1). You will need one of each of these devices for each source and display in your system.
For example, if you want your DVD player to display on the two TVs in your system, you will need a source side encoder (M3B–TX1) for the DVD player and two display side decoders (M3B–RX1) — one for each TV in the system. -
What is the total amount of COAX you will need for this system?
“RF” components such as Coax, Splitters, and “F” terminations are also needed in addition to your sources, displays, and HDMI® cables. -
Are you sharing the coax with any other devices (MOCA, Sat, CATV or OTA)?
If so, you will need other accessories based on the devices you are sharing the coax with. -
How do you want to program the Channel ID selection for sources?
Follow these steps:
-
Install a M3B–TX1 at each source and a M3B–RX1 at each display in the system.
Keep in mind that heat is the enemy — do not stack M3B units on top of each other. Use a one inch spacing between devices for both horizontal and vertical installations. -
If system encompasses MOCA, Satellite, CATV or OTA, install additional accessories as needed.
Keep checking our blog for a post providing more details on this step complete with diagrams. -
Program your channel ID.
The M3B system is capable of supporting up to 100 individual channel ID selections. It is recommended that you go no more than 50 sources and place these sources on every other ID frequency.
Please note: for best overall performance, Ch. ID assignment is important — review all design documentation, prior to selecting your Ch. ID range.
Please email us with photos of your installed systems! We would love to feature them on our blog and social media.
Posted in Blog
By
Metra Home Theater
Shop By Brand
News